How to Setup Email Server With HestiaCP (Cambodia)
Setting up an email server can be a daunting task, but with HestiaCP, it becomes a much more manageable process. HestiaCP is an open-source web hosting control panel that simplifies the management of web servers. In this guide, we’ll walk you through the steps to set up an email server using HestiaCP.
Prerequisites
Before we begin, make sure you have the following:
- A VPS (Virtual Private Server) with a fresh installation of a supported Linux distribution (Ubuntu or Debian is recommended).
- Root access to the server.
- A registered domain name.
- Basic knowledge of command-line operations.
| Minimum | Recommended | |
|---|---|---|
| CPU | 1 core, 64-bit | 4 cores |
| Memory | 1 GB (no SpamAssassin and ClamAV) | 4 GB |
| Disk | 10 GB HDD | 40 GB SSD |
| Operating System | Debian 10, 11 or 12 Ubuntu 20.04, 22.04 LTS | Latest Debian Latest Ubuntu LTS |
Step 1: Install HestiaCP
1. Update Your System:
sudo apt update && sudo apt upgrade -y
2. Download and Run the HestiaCP Installation Script:
Download the installation script for the latest release:
wget https://raw.githubusercontent.com/hestiacp/hestiacp/release/install/hst-install.sh
If the download fails due to an SSL validation error, please be sure you’ve installed the ca-certificate package on your system – you can do this with the following command:
apt-get update && apt-get install ca-certificates
To begin the installation process, simply run the script and follow the on-screen prompts:
bash hst-install.sh
If bash hst-install.sh doesn’t work, add –force.
3. Follow the Installation Prompts:
Follow the following options:
Would you like to continue with the installation? [Y/N]: Choose Y.
Provide an email valid address.
Enter a fully qualified domain. For instance, hestiacp.domain.com
Would you like to continue with the installation? [Y/N]: Choose Y.
Provide an email valid address.
Enter a fully qualified domain. For instance, hestiacp.domain.com
Note: At the end of the HestiaCP installation script, you’ll see a message that includes the admin username and password. Make sure to note these down.
4. Access the HestiaCP Web Interface:
Once the installation is complete, you can access HestiaCP through your web browser. The URL and login credentials will be displayed at the end of the installation process.
http://your-server-ip:8083
http://hestiacp.domain.com:8083
Step 2: Create a New User and Domain
1. Log in to HestiaCP:
Open your web browser and log in to HestiaCP using the admin credentials provided during installation.
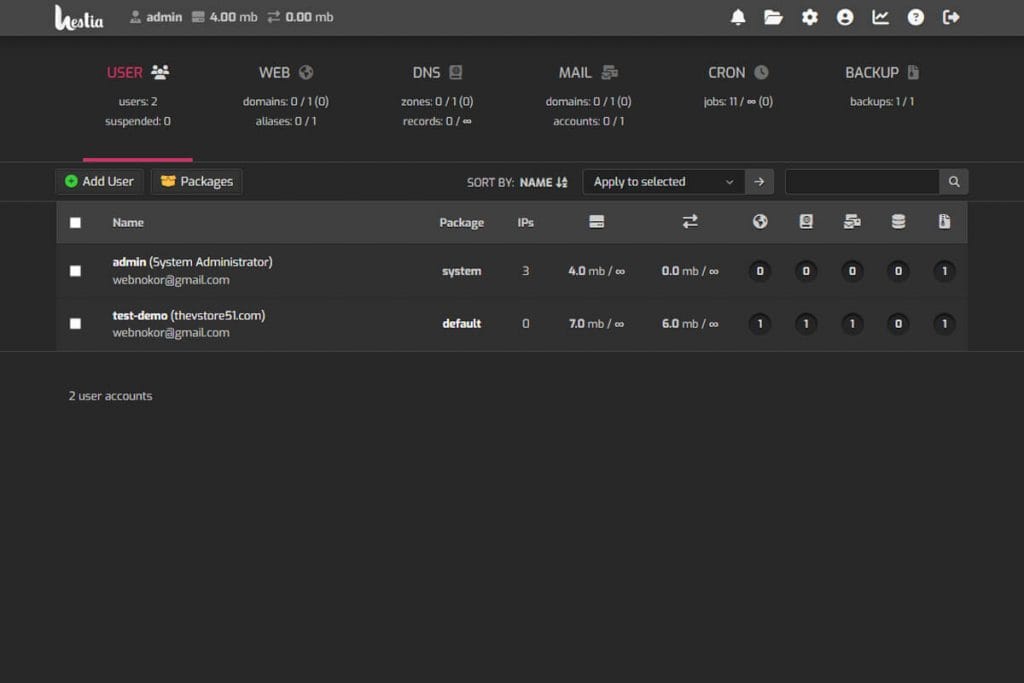
2. Create a New User:
- Navigate to User -> Add User.
- Fill in the necessary details to create a new user account.
- Set the appropriate permissions for the user.
3. Log in as the New User:
Log out of the admin account and log in with the new user account you just created.
4. Add a New Domain:
- Go to Web -> Add Domain.
- Enter your domain name and enable DNS Support and Mail Support.
- Click Save.
Step 3: Configure DNS Settings
To ensure your email server functions correctly, you need to configure the DNS settings for your domain.
1. Add DNS Records:
- A Record: Points your domain to your server's IP address.
- MX Record: Directs emails to your server. Set the priority to 10 and point it to your domain.
- SPF Record: Authorizes your server to send emails on behalf of your domain.
- DKIM Record: Adds a public key for email validation.
- DMARC Record: Specifies your policy for handling email validation.
2. Example DNS Records:
| Type | Name | Value |
|---|---|---|
| A | yourdomain.com. | your-server-ip |
| MX | yourdomain.com. | 10 yourdomain.com. |
| TXT | yourdomain.com. | "v=spf1 mx ~all" |
| TXT | default._domainkey.yourdomain.com. | "v=DKIM1; k=rsa; p=your-public-key" |
| TXT | _dmarc.yourdomain.com. | "v=DMARC1; p=none" |
Step 4: Set Up Email Accounts in HestiaCP
1. Add an Email Account:
- Go to Mail -> Add Account.
- Select your domain from the dropdown menu.
- Enter the desired email address (e.g., info@yourdomain.com) and set a password.
- Click Save.
Step 5: Secure Your Email Server
Securing your email server is crucial to prevent unauthorized access and spam.
1. Enable SSL/TLS:
- Go to Mail -> Edit Mail Domains.
- Tick on Enable SSL for this domain and Use Let's Encrypt to obtain SSL certificate
- Click Save.
2. Enable Anti-Virus, Spam Filter and DKIM:
- Go to Mail -> Edit Mail Domains.
- Tick on Enable Spam Filter, Anti-Virus and DKIM Support
- Click Save.
Conclusion
Setting up an email server with HestiaCP is a straightforward process that involves installing the control panel, creating users and domains, configuring DNS settings, creating email accounts, and securing your server. By following this guide, you’ll have a functional email server that you can use for personal or business communication.
Frequently Asked Questions
Roundcube will not work after Hestia installation
Due a bug, permissions for roundcube are not the right ones so execute these commands to fix them:
chown -R hestiamail:www-data /etc/roundcube/
find /etc/roundcube/ -type f -iname "*php" -exec chmod 640 {} \;
chown -R hestiamail:www-data /var/lib/roundcube/
chown -R hestiamail:www-data /var/log/roundcube/
chown -R hestiamail:www-data /etc/roundcube/
find /etc/roundcube/ -type f -iname "*php" -exec chmod 640 {} \;
chown -R hestiamail:www-data /var/lib/roundcube/
chown -R hestiamail:www-data /var/log/roundcube/
How can I activate Antivirus and Spam Filter?
installed both spamassassin and clamaav:
apt install spamassassin clamav clamav-daemon
Then edited the hestia config file:
nano /usr/local/hestia/conf/hestia.conf
At the beginning add:
ANTISPAM_SYSTEM=‘spamassassin’
ANTIVIRUS_SYSTEM=‘clamav-daemon’
apt install spamassassin clamav clamav-daemon
Then edited the hestia config file:
nano /usr/local/hestia/conf/hestia.conf
At the beginning add:
ANTISPAM_SYSTEM=‘spamassassin’
ANTIVIRUS_SYSTEM=‘clamav-daemon’